 Loading... Please wait...
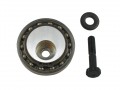


- Home
- Tech Pages
- LED Gauge Cluster Tech Section
- How to Paint Gauge Needles
How to Paint Gauge Needles
One of the most frequent questions that we hear from our customers is “How do I paint the needles on my gauges?” As a result, we have prepared to following tutorial to point you in the right direction.
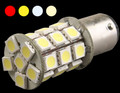
To start, make sure you have all of the items you need to do the job right. Here is what we recommend:
|
 |
Setup: Start with a clean, well lit work area. We recommend placing down a sheet of cardboard or old newspaper in case of any accidents. Arrange your work area with all of your supplies within reach.
Begin by shaking the paint until it is mixed. The paint has stainless steel balls in the container to help break up any solids that have formed together and mix the paint. Once the mixing balls are moving freely in the paint, in normally requires an additional minute or two to fully mix the paint. If you are shaking one of our paint vials, use caution and do not shake violently. The vials are glass and can easily break if shaken too hard. We recommend leaving the paint in card package (if possible) and shaking it by holding the sides of the card package.
Do not use objects to stir the paint! Shaking the paint is the correct way to fully integrate the pigment solids properly in the paint. Using an object like a toothpick or other stirring tool, can contaminate the paint and will not effectively mix the pigment. Furthermore, wooden objects like toothpicks can absorb part of the liquid leaving more solids than liquid in your paint container. Once the paint is mixed, set it aside.
Clean your brush in soap and water. Even if it is new, it can have chemicals or substances in the brush that can contaminate the paint and lead to poor results. Wash with warm soapy water and pat dry with a paper towel. Do not use Q-tips or other substitutes to apply the paint. A good quality brush is the only way to get good results. The better the brush quality, the better your results will be.
Needle Preparation: Slide one of your index cards under the gauge needle. Then take your Q-tip and dip it into the denatured alcohol. Carefully clean the needle to remove any substances that may be on the surface. Avoid contact the gauge face! We find that the letters and characters screened on the face of the gauges can easily be damaged. Even a damp cloth can remove the screen printed characters from the face of your gauges. Repeat this cleaning process on each of the gauge needles that you intend to paint. Repeat the process 2-3 times. Allow the alcohol to fully evaporate before painting the needles.
Next, apply a small amount of paint to one of the needles. If the paint does not stick, the needles are not properly prepped. Please note, the paint will normally appear nearly transparent for the first coat. that does not mean that it is not adhering properly. Immediately, clean the paint from the needle. If the paint is not adhering properly, this indicates that the needles are not clean enough. Repeat the steps in the previous paragraph until the needles are clean and able to hold paint. Some needles may have a glossy finish. In such cases, the needles may need to be lightly sanded with a very fine grit sandpaper (e.g. 1000+grit). The light sanding will produce a better surface for paint adhesion. After light sanding, treat again with alcohol to remove any dust or debris. Repeat these steps until needles hold paint.
Painting: Now, we are ready to paint the needles. First, mix the paint again. It should mix easily this time. The paint has a high fluorescent solids content, so it is important to make sure that all of the solids have mixed back into the paint. The solids are the pigment that makes the paint glow, so it is important that they are fully mixed.
| Slide an index card under the needle that you wish to paint. This will catch any paint that would otherwise land on your gauge. Put a small amount of paint on the tip of the brush and apply the paint to the gauge needle. Start in the center of the needle and pull the brush in long strokes toward the tip of the needle. Apply a very thin coat of paint. The first coat will appear nearly transparent. It will most likely not look good after the first coat. Most needles take 3-5 thin coats. Allow at 3-5 minutes between coats for the paint to setup. If you are changing the color of the gauge needles, you will likely need more coats and more drying time between coats. | 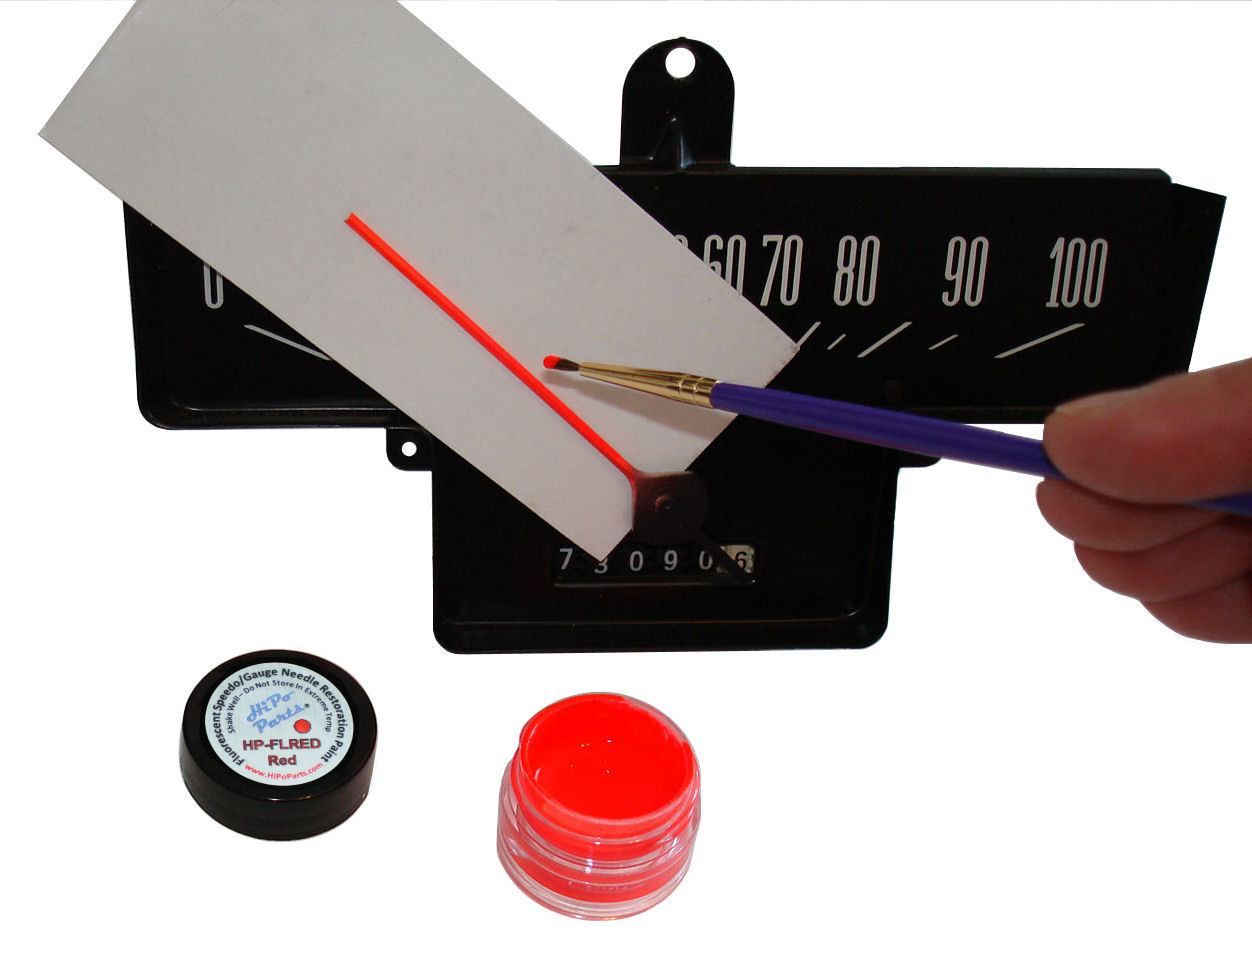 |
The paint may seem to have a slight texture to it and/or you may be able to see some minor brush strokes. This will fade as the paint dries. If you find any small unmixed clumps of pigment while painting, be sure to carefully remove them from the needle using the brush. After applying the required number of coats of paint to your needles, allow them time to dry. We suggest leaving the index cards in place until the paint is dry.
Clean Up: Clean your brush with warm water and soap and pat dry with a paper towel. Clean any paint from the rim of the container, wash the lid and reseal the paint. Be sure to store at room temperature and away from sunlight for maximum shelf life. Reassemble your gauge cluster and enjoy your newly restored gauge needles.